Faith

Already, but not yet…

Since getting married, we’ve lived in homes from the 40s, 80s, and a flipped home that was built in the 70s, but was practically new. I decided my idea home age was one what was older than my grandparents (charming and full of both history and character) or younger than I am (somewhere between vintage and new). We found a house that fit in the latter category, and when we bought it just over a year ago, I knew there were several things I wanted to change.

The first major things that absolutely had to change were the light fixtures. Not only did the previous owners have some really strange lightbulbs (think color changing in the kitchen and spinning projection type bulbs in front of the garage), our first few nights here had me feeling like I was going blind because the bulbs were so dim! I believe most of the fixtures were original to the house, but some of them were just way too small for the rooms they were in. Changing our main floor fixtures has made a huge impact.

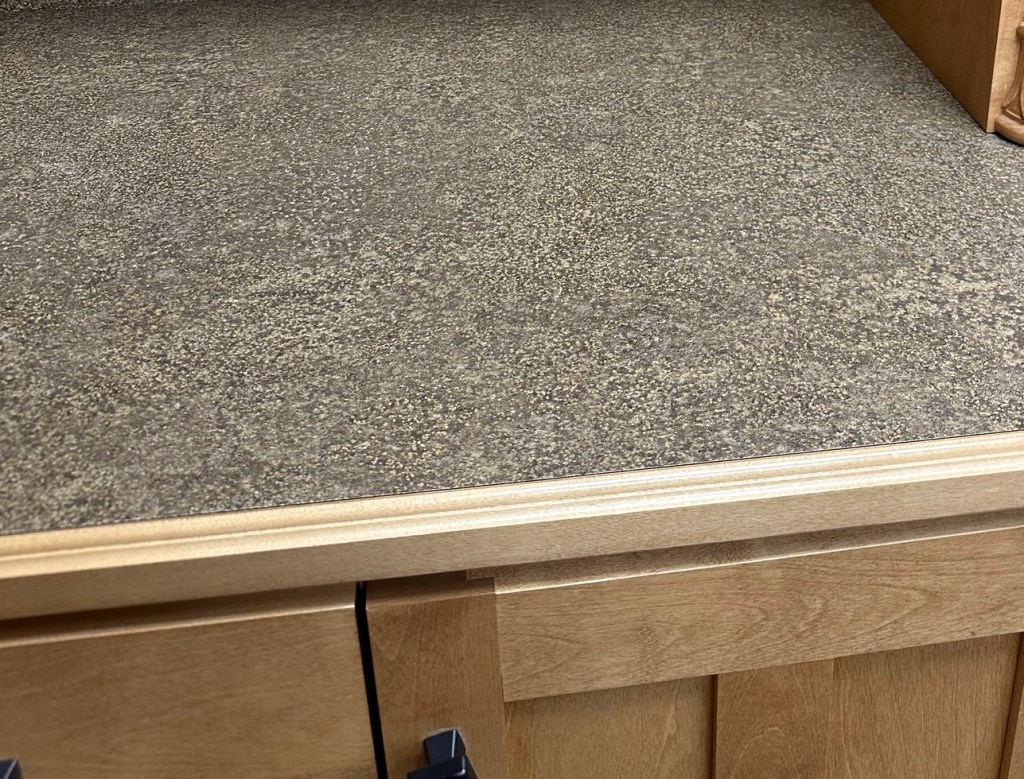
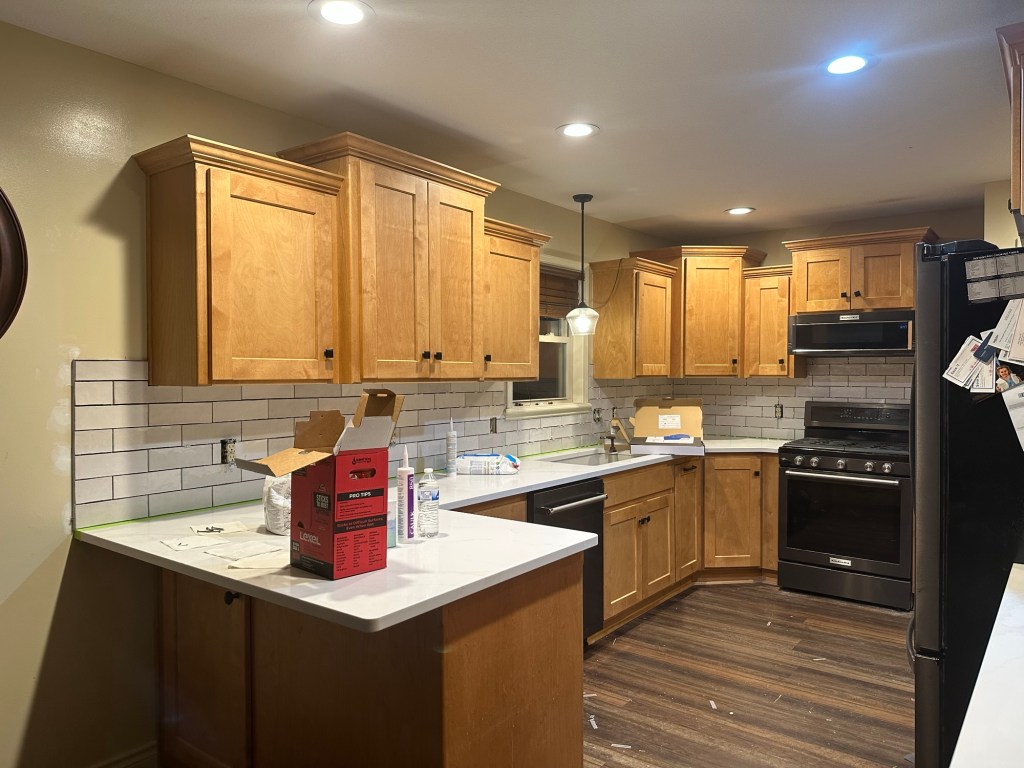
Next on my list of changes to make were our kitchen countertops and backsplash. They were also original to the house. Our backsplash consisted of large, diagonal beige tiles, and our countertops were a very textured brown laminate with a wood front. It may have been the kitchen of my mom’s dreams 20 years ago, and she thought I was crazy for wanting to change it because it was still beautiful to her. The texture in the countertop made it less than idea for baking, and it had to be scrubbed, rather than just wiped clean. Between the color and the texture, I never felt like it was fully clean, even after being scrubbed down. The backsplash and countertops needed updating.

Unfortunately…my list got reordered when the deck balusters started falling out, and we realized the railing was rotten. As our friend was starting to replace the railing, he noticed that the other boards were also rotting and…the whole deck needed replacing. So we replaced the deck. And it’s beautiful, but it’s not kitchen countertops.

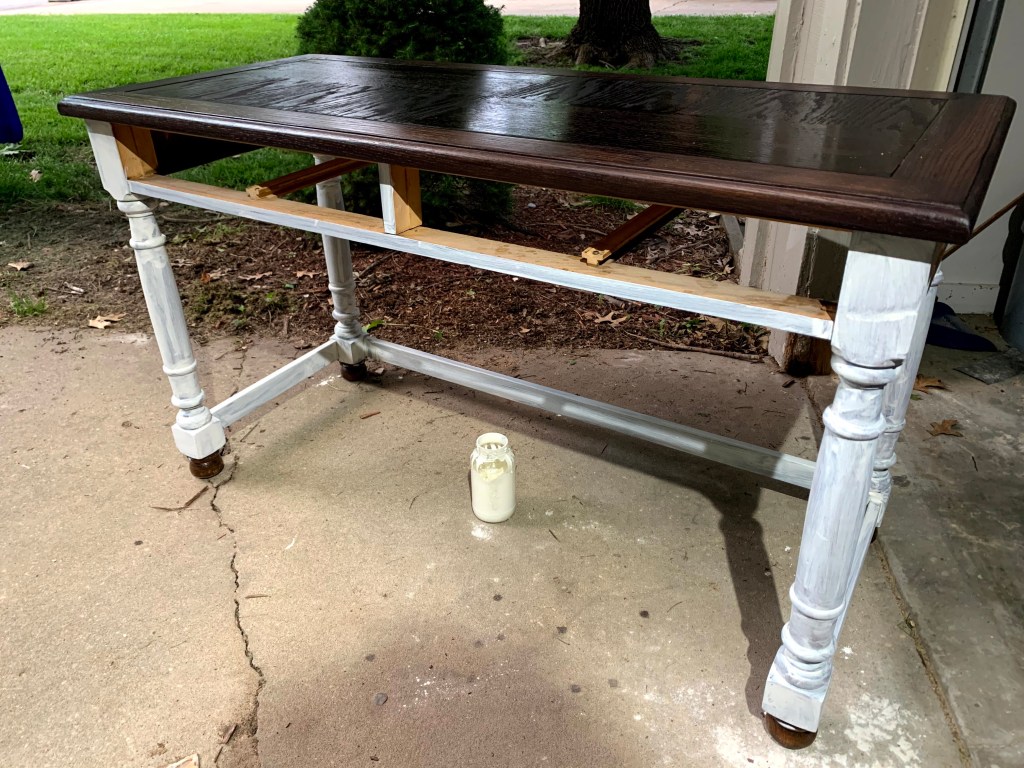
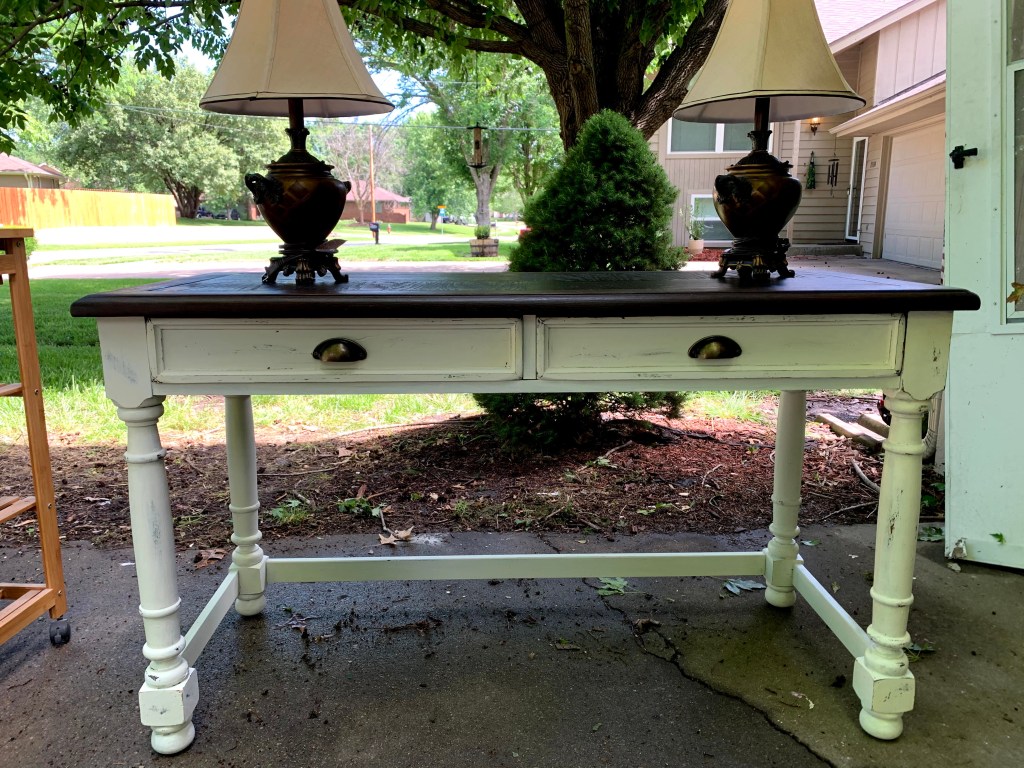
Finally, the day came when my husband took me to look at countertops! We found a few options and narrowed it down to the one. Then came the scouring of hardware stores to find a tile in a complimentary color. With new countertops, we decided to also take out the Y2K kitchen desk and replace it with a custom cabinet. Thankfully the company that built our cabinets is still in business, and we were able to have them come out to match the stain.

Our backsplash was stubborn, and it didn’t want to be pulled off of the walls. It had to be cut out and the walls re-sheet-rocked. That happened last week.

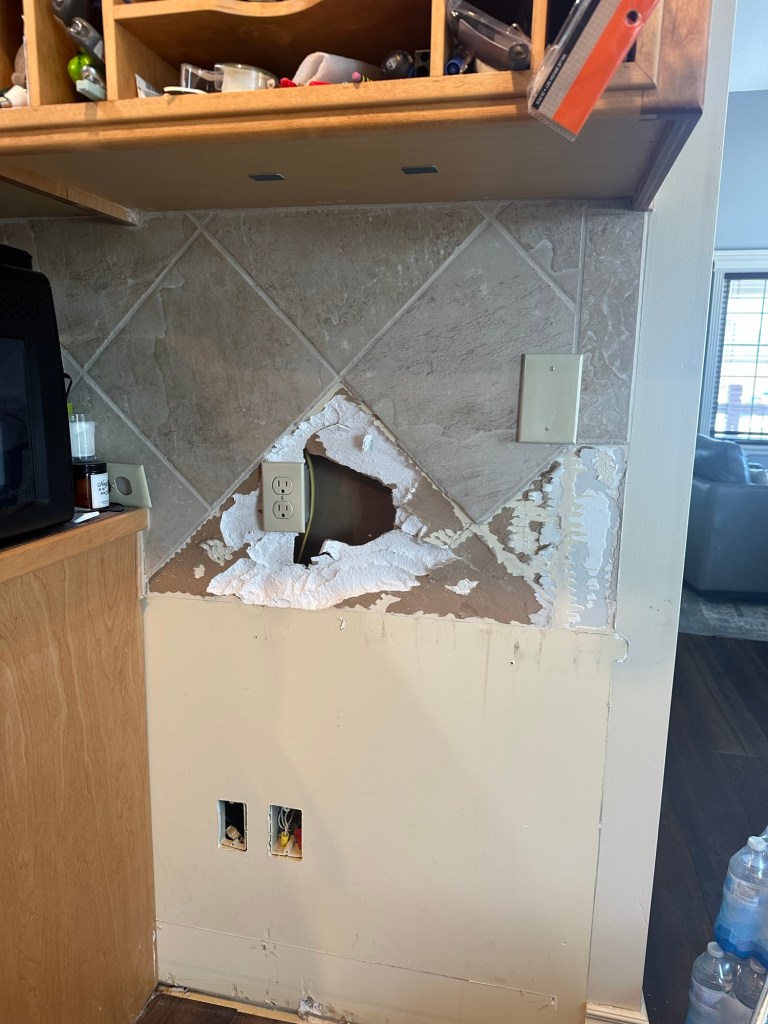
Three days ago our faucet got disconnected, and our countertops went in the next day!!!

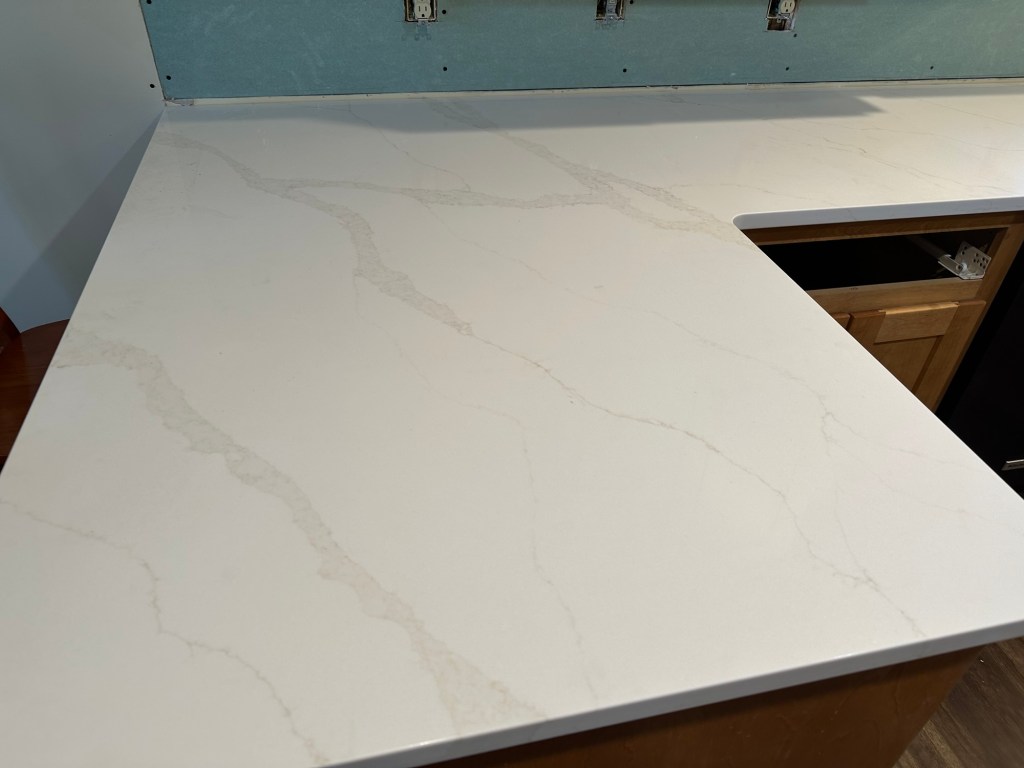
Today the backsplash installation began! As I rock my youngest daughter to sleep, I’m excited and thankful, yet weary. It’s been three days without a kitchen sink, and it’s challenging. The backsplash is looking beautiful, but the grout isn’t in yet, so I’m not yet able to fully see my vision brought to life.

Our countertops and backsplash are in already, but they’re not yet completed. I feel guilty for my weariness and impatience when I already have my beautiful updates in process.

As I sit in this tension, I’m reminded of the tension that exists in our salvation. We are already cleansed and justified, but we are not yet made perfect and complete. Our salvation has been purchased already, but we are on earth and are not yet enjoying the glory of eternity with Christ.

Someday (hopefully tomorrow!!) my kitchen faucet will be installed and my backsplash will be grouted. And someday, I will be both with and like Jesus. While I am thankful for what Jesus has already accomplished, I anxiously await the completion when every tear will be wiped away, sin will be no more, and I will glory in the presence of my Savior for eternity.

It’s easy to become wearied by the wait. It’s easy to be weighed down by the things we see and face here on earth. But we can be encouraged because someday is coming.

DIY

Garage Sale Refinish

My dad was in the Air Force until I was 16, and we moved every 1.5 to 4 years. When I was 8, my parents bought their first home. Homeownership gave my parents the opportunity to do things they’d been unable to do while we lived in base housing. My mom finally got to hang curtains, they repainted almost every room, they changed light fixtures, and they got new carpet.

Their improvements took them, and me, to a store I hated going to: Lowe’s. While they debated light fixtures, carpet, paint colors, and wallpaper borders (#90sKid), I resisted the urge to cry. It was so boring. I groaned every time our 1993 teal green Ford Aerostar pulled into the Lowe’s parking lot.

I knew I was officially an adult when I no longer disliked Lowe’s.

Their former slogan, “Never Stop Improving,” must have been a winner, because it comes to mind whenever I work on projects.

I love making things better. I love seeing something and knowing that it has potential just waiting to be revealed. It’s a mixed blessing. I look around my house and make a mental list of all of the projects I would love to do and changes I dream of making. It’s so much fun to see the finished project, but my husband probably groans whenever I start dreaming.

My latest project came from my grandma-in-law’s house. She’s lived in the same home for decades, and her kids recently redecorated it. The old furniture found its way to my house just in time for our garage sale. One of the pieces caught my attention as soon as I saw it. I knew it had potential.

I had the supplies left over from other projects, and decided to put in a little bit of work so that I could increase the sale price at our garage sale.

Here’s the piece before!

It’s solid wood, and I knew it had the potential to be beautiful! We started by sanding it down with a palm sander. (The sandpaper was the only thing I didn’t already have.)

It took a little bit of work to get the finish off, and I think I did a little bit more sanding after I took the last picture of the the top—at least I hope I did!

After staining the top with an espresso stain, I added a coat of chalk paint to the legs and drawers.

Confession: I’ve never used store bought chalk paint on furniture. I’ve used diy chalk paint for my last four refinishing projects. The recipe I’ve used is 1 part water + 1 part plaster of Paris + 3 parts paint.

First mix the water and plaster of Paris together. Mix until there aren’t any clumps. Next, add the paint to the mixture and stir.

Super simple, and it works well. The best part is, it’s so much less expensive than buying pre-made chalk paint. I’m a fan. I bought a gallon of Dover White a few months ago when I refinished a couple of Facebook Marketplace dressers for our master bedroom, and I still have tons of paint and plaster of Paris left.

First coat!

The first coat is always scary. It looks awful. For my first couple of projects, I thought, “Oh no! What have I done?!” Thankfully, after two more coats, it starts looking great.

After the third coat dried, I gently sanded all of the chalk painted finish until it became smooth to the touch. I sanded the corners and edges a little more roughly to distress some of the table, and after wiping off the dust, I sprayed it with a layer of polycyclic. The antique brass drawer pulls were leftover from another project, and they fit the style of the table perfectly.

Pretty much everyone at the garage sale stopped to look at this table. Unfortunately for them, it was one of the first things that sold. My almost pro-garage-saler aunt said before the makeover, I could have sold the table for $15. Thanks to a little bit of work/fun and supplies I already had on hand, it sold for $80!

I’ve already started on my next project: an IKEA Malm nightstand hack. Keep an eye out for it!